This module allows content creators to package multiple assets within Foundy VTT into a single distributable file that can be shared.
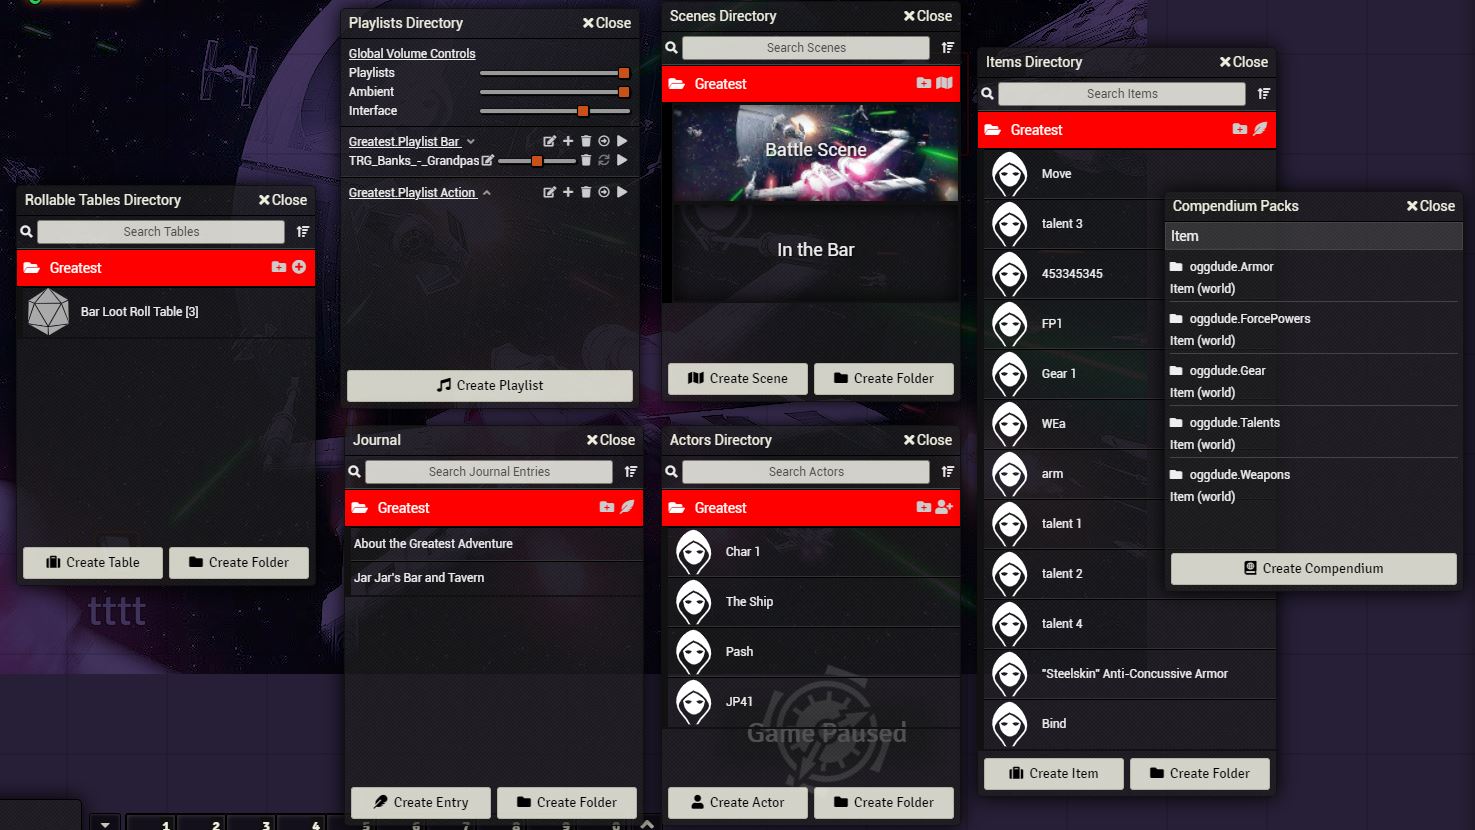
The package will include all the assets created within Foundry VTT (Scenes, Actors, Journals, RollTables, Playlists and Compendiums) and associated non-core images and sounds.
How To Export an Adventure:
IMPORTANT NOTE ABOUT FOLDER EXPORT: The Foundry max folder depth is 3, which means to export folders correctly, the max depth must be 2 or less, as all assets are placed under a folder when imported named for the adventure.
1. Create the content you want to export. This can include scenes, actors, items, journal entries, roll tables, playlists and compendiums. Create them as you would if you were planning to play them. Assign images, add sounds and music, etc.
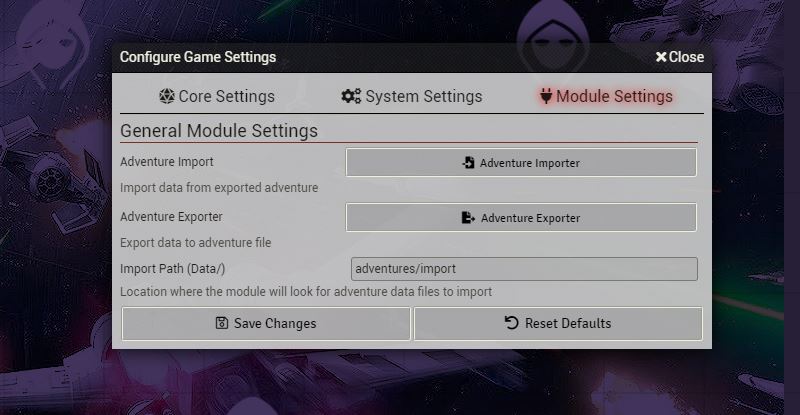
2. Make sure the module is enable, and open the Module Settings and click the Adventure Exporter button to launch the exporter.
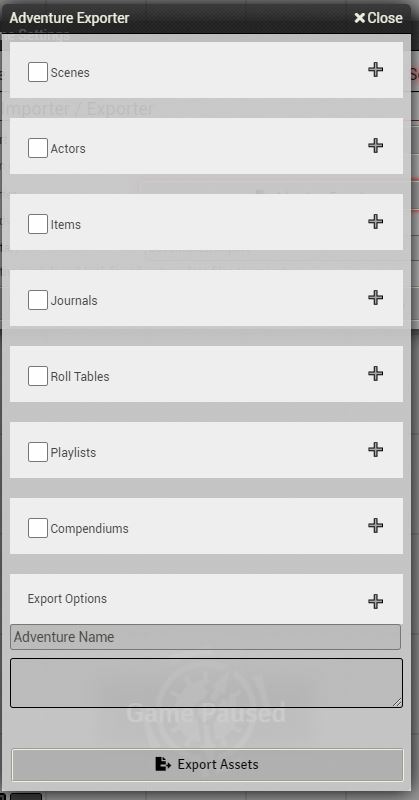
3. Select the objects you want to export, enter an adventure name (optional if you don't the file exported will be a default name), and a description optionally.
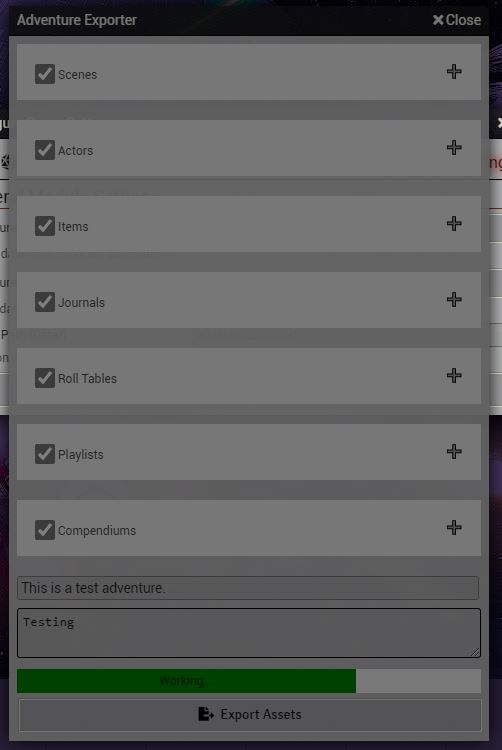
4. Click the Export Assets button and let the exporter do its work. The amount of data being exported will determine the amount of time it takes to export the data. Once the process is complete (there is a progress bar), the adventure will be automatically downloaded.
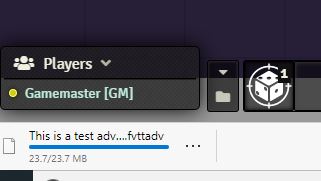
5. This downloaded file can then be shared.
How to Import an Adventure:
1. Load your world as normal, logging in as a Gamemaster.
2. Make sure the module is enabled, and open the Module Setting, and enter an Import Path, and save the configuration changes.
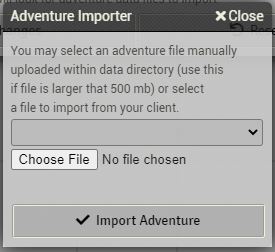
3. Before reopening the module settings. copy/move/upload the adventure file (*.FVTTADV) to the data folder under the import folder that was specified if the file is larger that 500 mb, otherwise you can use the import option to select a file from your client to import.
4. Open the Module Settings again, and click Adventure Importer. The drop down should be populated with the file that was uploaded (or if not uploaded, select choose file and select a file to import). Select the file and click Import Adventure.
5. Let the importer do its work, it will create all object under a folder name in each section that will be named the adventure's name (witch the exception of Playlists and Compendiums). For playlists, the name of the playlist will be Adventure Name - Playlist, and the compendium's will be named as they were created. (This is to preserve and links between items)

6. At this point all the data will have been imported and you can now enjoy the adventure.

NOTE:
Adventures are locked to the system they were created in. If the system doesn't match the current game system an alert will be displayed.
Some ideas for creating an Adventure to Export:
When creating content you should keep some things in mind:
1. Create at least one journal entry that explains the adventure, think of it as a title page.
2. Try to keep the files small, you can do this by breaking up a large adventure into seperate exports, maybe per scene.